In the smart lock industry, installation is often regarded as the “last mile” of service, underscoring its critical importance. While installation habits may vary among technicians, most adhere to a standard set of procedures. These generally include pre-installation preparations, the installation process itself, and the subsequent product testing phase.
In this article, we consulted experienced professionals in the industry to bring you a detailed guide on the general process of installing a smart lock, along with troubleshooting tips for common issues encountered during installation. This guide primarily focuses on the mechanical lock body installation process.
1. Pre-Installation Preparations
❶ Product Testing: Begin by inserting the batteries and conducting a basic functionality test to ensure the new lock is free from defects. Gather all necessary tools and accessories for the installation.
❷ Installation Conditions Check: Before starting, use the key to test the door’s locking mechanism. Ensure smooth operation and check if the door hook is aged or if the door panel is deformed.
2. Installation Process and Key Considerations
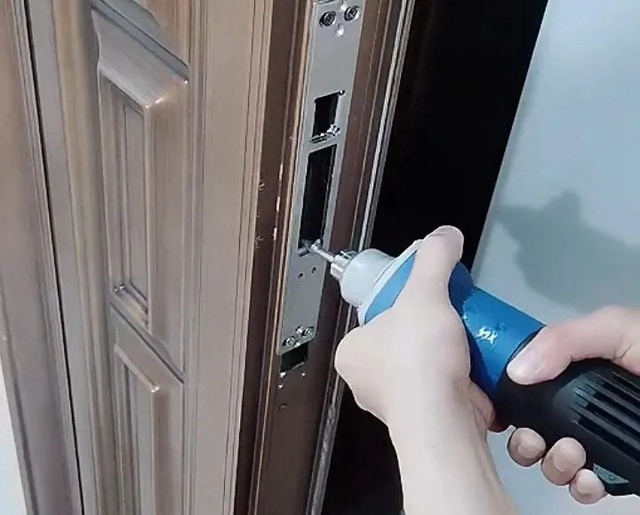
❶ Lock Body and Door Hook Installation: After completing the preliminary checks, remove the panel and lock body. Before inserting the new lock body, compare it with the old one to see if additional drilling or hole expansion is needed. If the new lock body fits, secure it in place; if not, modifications using a template may be necessary.
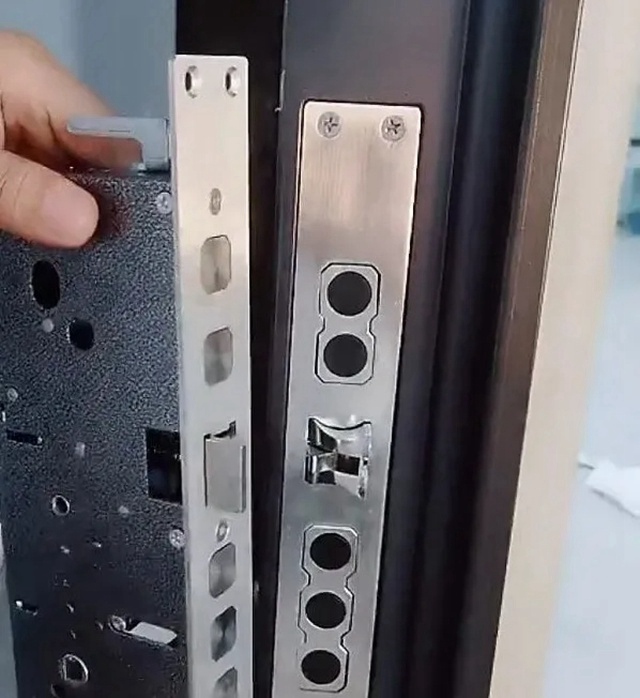
- In certain scenarios, you may need to reverse the door lock and lock body. The method varies depending on the specific lock body design.
- If the door hook is worn out, it should be removed. If removal is challenging, tools can be used to secure it (in cases without a secondary lock). After installation, check if the door hook protrudes excessively and, if necessary, grind or cut it down to ensure smooth door closure.
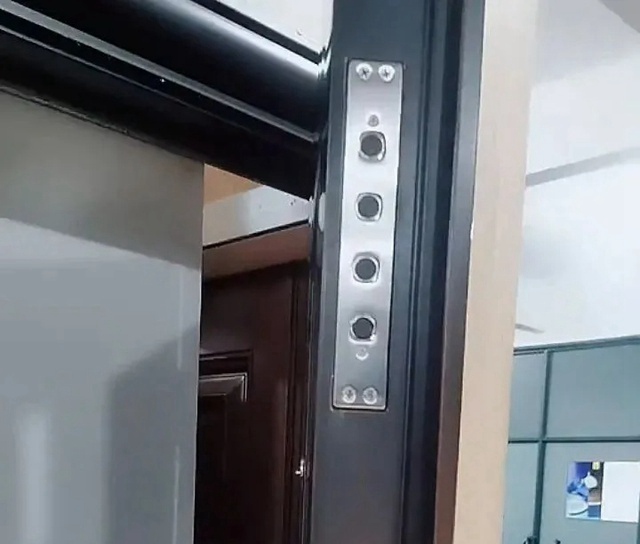 ▲secondary lock
❷ Smart Lock Installation: Start by installing the guide plate. If the guide plate requires additional support, mark its position on the door frame and secure it with rivets, then flatten the rivets with a hammer. If the guide plate obstructs the lock, grind it down with a machine.
- Measure the door thickness and compare it with the length of the steel bar and anti-lock iron sheet. If cutting is necessary, use an angle grinder to cut and then smooth the edges. Insert the steel bar into the lock cylinder, adjust the handle direction and reverse the arrow as needed.
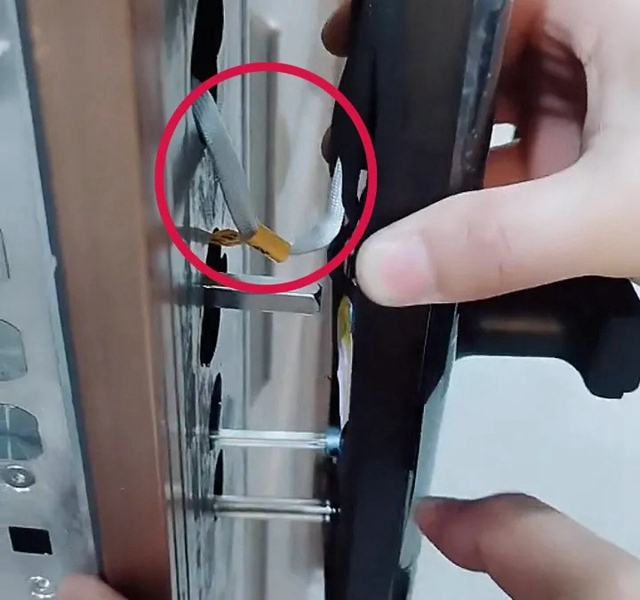
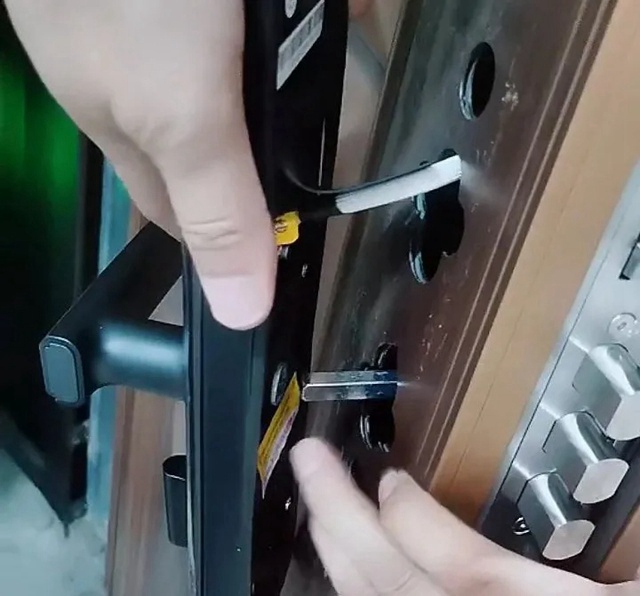
- When installing, ensure that all wires are tucked inside the door and not pinched by the panel. Once everything is aligned, screw in the sleeve and secure it with pliers. Position the gasket correctly, and have someone hold the front panel in place to avoid damage.
- Next, install the rear panel. Align the gasket with the back panel, insert the spring into the steel bar hole, connect the wires, and gently push the panel into place. Ensure that the wires are not tangled or interfering with the door hook.
- Align and secure the screws on both the front and rear panels. Do not tighten the screws fully until you’ve confirmed that the panels are properly aligned.
3. Product Testing Phase
- Finally, proceed to the testing phase. Test the lock’s handle, deadbolt, handle rebound, and internal safety features like the peephole. If the handle does not rebound, adjust it by tightening the screws.
- Once all components function correctly, proceed to input fingerprints and other security credentials. Follow the manual to set the time, input the management password, fingerprints, and keycards, and learn how to add or remove users and restore factory settings.
Important: Never leave the key inside the house, and if a keycard is lost, delete the corresponding entry immediately.
4. Additional Considerations
Beyond the standard installation process, here are some additional tips:
- Steel Bar Length: Ensure that the steel bar is slightly shorter than measured to allow smooth insertion and prevent the handle from being too tight, which can hinder door operation.
- Automatic vs. Semi-Automatic: The overall steps are similar for both, with the main difference being the need to cut the lock cylinder during the installation of automatic locks.
- Panel Alignment: Ensure that the front and rear panels are aligned before securing them to avoid issues with the lock cylinder and steel bar placement.
- Compatibility: When selecting a lock for a client, consider the door’s specific characteristics, such as inward or outward opening.
- Connectivity: Some locks do not support 5G networks; you may need to adjust the router settings.
- Door Hooks: Removal methods for door hooks vary; choose the appropriate method based on the lock’s design.
By following these guidelines, you can ensure a successful smart lock installation and avoid common pitfalls that could lead to operational issues.
Post time: Aug-28-2024


