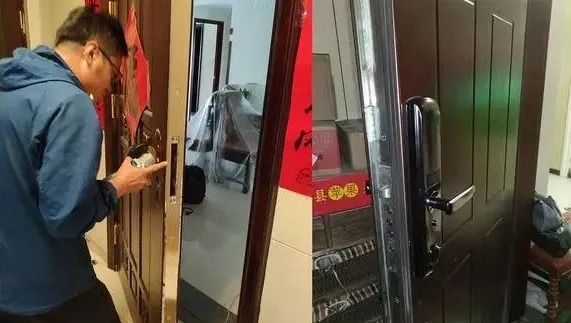
The performance of a smart lock depends on two critical factors: the quality of the product itself and the quality of its installation. If either of these aspects falls short, users may experience operational issues, leading to dissatisfaction and even complaints.
Installation is often referred to as the “last mile” of a smart lock’s functionality. Given the varying skill levels of installation professionals in the industry, there’s significant room for improvement in both installation quality and troubleshooting capabilities.
This guide outlines common problems encountered during and after the installation of smart locks, providing actionable solutions to help less-experienced installers master the basics quickly.
Common Problems During Smart Lock Installation
1. Door Handle Fails to Return to Position
A common issue during installation, particularly with U-shaped handles, is the handle failing to reset after being pressed. This is usually caused by:
- Misaligned or undersized spindle holes: If the connection holes between the front and back panels are not properly aligned, friction can occur. The solution is to realign and enlarge the holes according to the technical diagram.
- Required Tools: Milling cutter, step drill, hole saw, electric drill.
2. Latch Bolt Does Not Extend, Preventing Door Closure
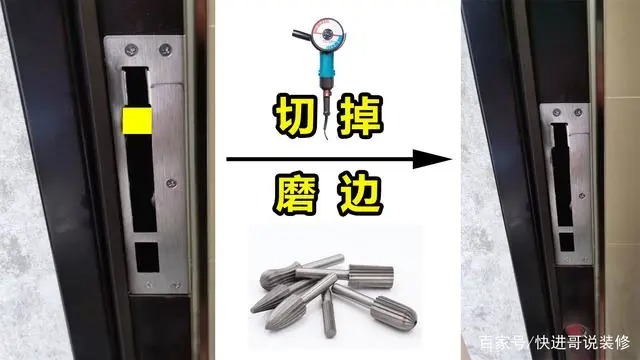
When the latch bolt doesn’t extend, and mechanical faults are ruled out, it’s likely due to an incorrectly sized hole in the door frame. Use an angle grinder to reshape the hole, ensuring alignment. For wider gaps, consider installing a guide plate.
- Required Tools: Angle grinder, technical diagram.
3. Difficulty Extending the Latch Bolt, Door Closes Unevenly
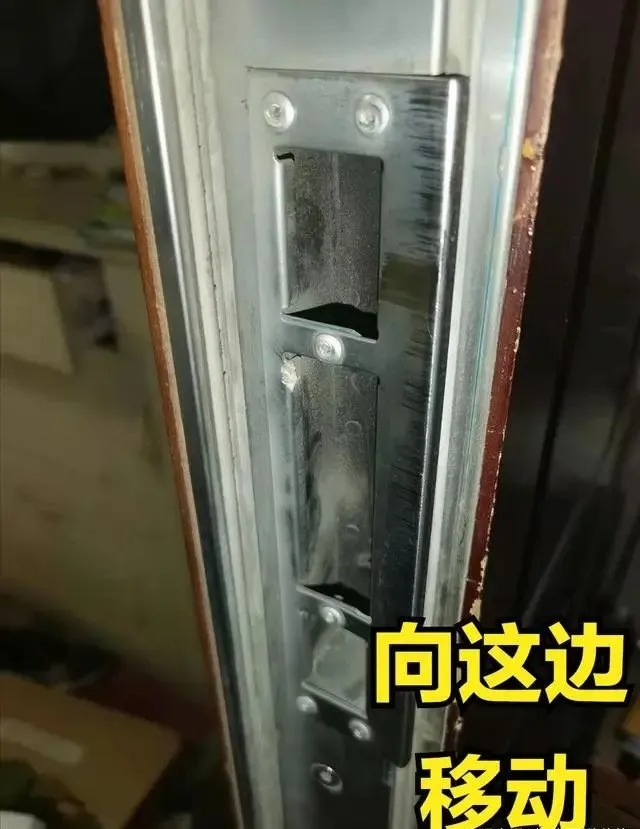
This problem often arises from misaligned guide plates. Adjust the guide plate’s opening using a milling cutter to ensure a smooth fit. Beginners should carefully follow the technical diagram to avoid excessive adjustments, which could cause the door to wobble.
- Required Tools: Milling cutter, angle grinder.
4. Door Wobbles After Installation
Post-installation wobbling is typically caused by a large door gap or an oversized hole in the door frame. Fix this by bending the guide plates inward to stabilize the latch bolt or by adding weatherstripping to the door frame for a tighter fit.
- Required Tools: Hammer, wrench, pliers, angle grinder.
5. Door Requires Excessive Force to Close
If the door requires significant effort to close, the latch point is likely too far forward. Adjust the door frame’s hole using an angle grinder or move the guide plate forward to resolve the issue.
- Required Tools: Milling cutter, drill bit, hammer, screwdrivers.
6. Motor Operates But Door Fails to Unlock
This problem usually occurs when the spindle is too short, especially in mechanical lock installations or dual-speed, dual-action locks. Ensure the spindle fully extends into the handle hole during installation to prevent such issues.
By addressing these common issues with the right tools and methods, installers can ensure a smoother setup process, enhance the user experience, and reduce customer complaints. Following technical diagrams and practicing careful adjustments will go a long way in mastering smart lock installation.
Post time: Dec-11-2024


